(Part 2)
Now that you have established an FTP profile and connected to the server, it's time to transfer files.
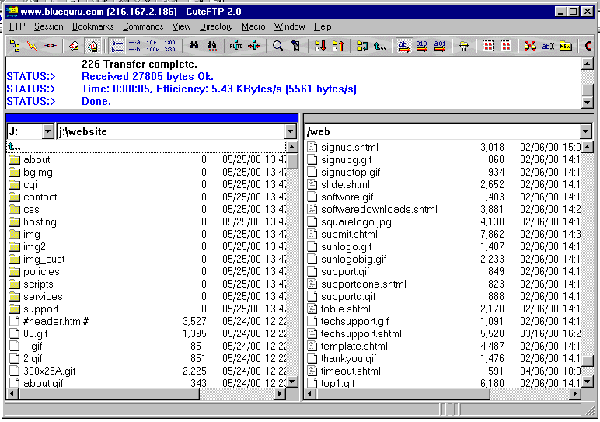
To access the screen shown below, select the profile you set up in the previous step (from the FTP Site Manager window), and press connect.
This tutorial covers only the basics
of transferring files to and from the server. For advanced uses, see the help
section under the CuteFTP menu.
.

- Step 1
- Locate the local file (on your hard drive). Use the "Up Directory" icon to move up a directory (see image), or click a folder to view the files within it.
- Step 2
- Make sure you are in the appropriate remote directory. Normally this will be /Documents or one of its subdirectories.
- Step 3
- Set the transfer mode. This setting is found by clicking FTP->Transfer Type from the main menu. For HTML (text) files, this should be set to ASCII; for binary files (Images/Programs) this should be set to Binary. If you are not sure, use the Auto setting.
- Step 4
- Highlight the local file and click the Upload Icon (see image #4). The file will transfer and appear on the remote side.
- Transferring from the Server
- To transfer from the server back to your hard drive, click the Download Icon (see #4).
See your software's help section for further details on deleting and renaming files or creating new directories.
GlobalScape, the maker of CuteFTP offers
extensive
product support and a copy of the user's
manual on their site.